Installing Oracle GoldenGate Microservices – Part 1 of 2
Recently I was exchanging emails with a few community members about Oracle GoldenGate Microservices. One of them commented on that Oracle GoldenGate Microservices was difficult to install; at the time, I was puzzled. The reason I was puzzled was due to the install process for Oracle GoldenGate hasn’t changed since Oracle GoldenGate 12.1 came out (first release that started to use the Oracle Universal Installer).
To answer the concerns of how to install Oracle GoldenGate Microservices, this post will be Part 1 of 2, where I will go into how to install Oracle GoldenGate Microservices.
As with any Oracle software, in order to install Oracle GoldenGate Microservices, you have to download the software. You can download Oracle GoldenGate as normal from the Oracle Technology Network (OTN) or from Oracle EDelivery (valid support needed). It is also helpful if you confirm the with certification matrix on what platforms are supported.
After you download the required binaries, you need to unzip them in a location where you can execute the Oracle Universal Installer from. In my environment, I typically use a directory called Test_Software that is a mounted shared folder within my VM.
$ sudo unzip ./191004_fbo_ggs_Linux_x64_services_shiphome.zip -d ./oggma
Once the file is unzipped, you need to go into the directory where you unzipped the binaries. You will find a directory called fob_ggs_Linux_x64_services_shiphome. Inside of this directory, you will find Disk1. Within the Disk1 directory, you will find the runInstaller. Running this file by itself will start the Oracle Universal Installer.
$ cd fob_ggs_Linux_x64_services_shiphome/Disk1
$ ./runInstaller
It will take it a few seconds to start. The OUI is doing a few system prerequisite checks.
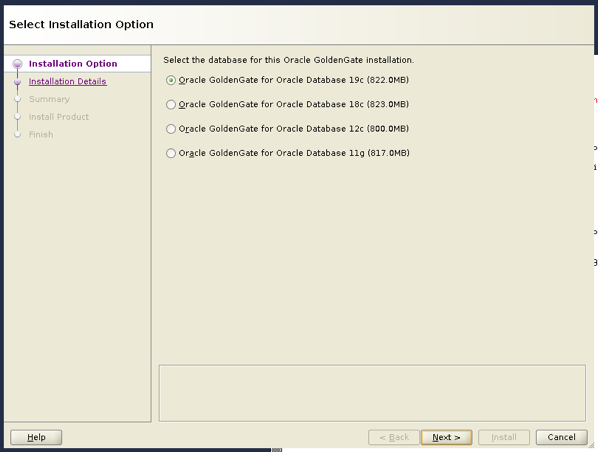
Once the installer started, you will be presented with the first page of the installation wizard. Here is where you will select what version of the Oracle Database that Oracle GoldenGate Microservices will run against. Note that Oracle GoldenGate 19c supports down to Oracle Database 11g (11.2.0.4) and later. Select the version which you will run Oracle GoldenGate against.
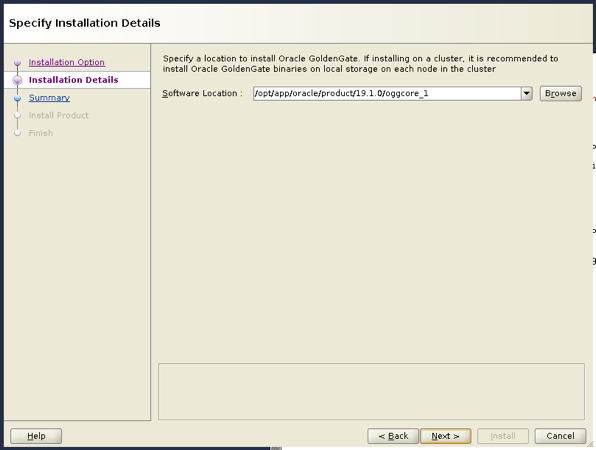
The next screen is where you will provide the Installation Details for Oracle GoldenGate. What the screen means by “Software Location” is the location of your Oracle GoldenGate Home ($OGG_HOME). This will default to the location if you have the environment variable $OGG_HOME set prior to starting the OUI.
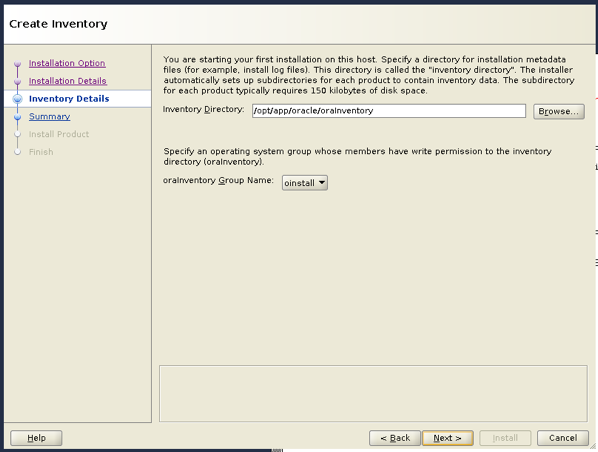
Next screen, you will be asked for where the Oracle Inventory is located and what operating system group has access to the oraInventory files. Provide the location where the oraInventory is located and what group is needed for access. Most times, the defaults will work.
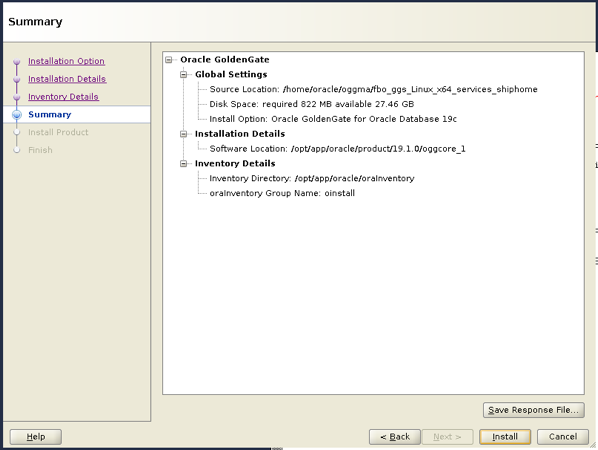
Lastly, you will come to the Summary screen. Here is a good opportunity to save a response file for later usage with silent installs. Review this page and ensure that everything is where you want it to be installed.
At this point, the install will complete fairly quickly. After the install is done, you will need to run the orainstRoot.sh script as a privileged user.
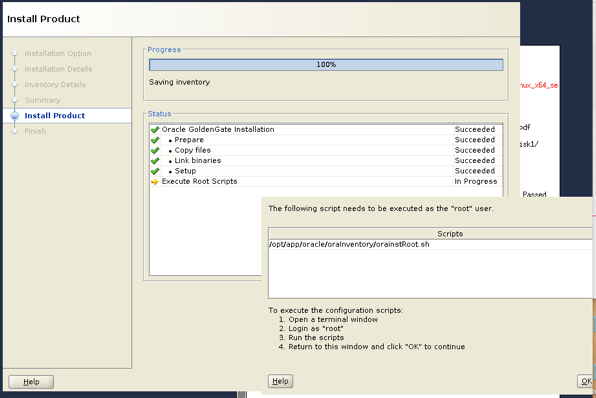
Once you have ran the orainstRoot.sh script, you have completed the installation of the binaries of Oracle GoldenGate Microservices Architecture.
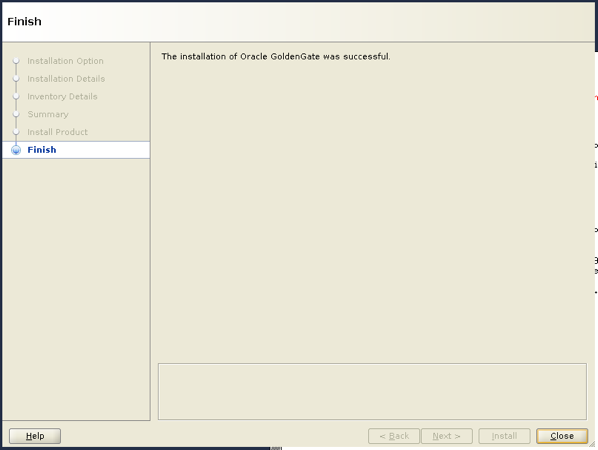
The last thing you should do after installing Oracle GoldenGate Microservices is to restrict the binaries directory to being read-only. This will prevent anyone from messing with the binaries and allow you to focus on the next post … 😉
$ cd /opt/app/oracle/product/19.1.0/
$ chmod 555 ./oggcore_1
Now you are ready to move on to the next step. On the next step, you will run the Oracle GoldenGate Configuration Assistant (OGGCA).
Enjoy and God bless!!!
Bobby Curtis

I’m Bobby Curtis and I’m just your normal average guy who has been working in the technology field for awhile (started when I was 18 with the US Army). The goal of this blog has changed a bit over the years. Initially, it was a general blog where I wrote thoughts down. Then it changed to focus on the Oracle Database, Oracle Enterprise Manager, and eventually Oracle GoldenGate.
If you want to follow me on a more timely manner, I can be followed on twitter at @dbasolved or on LinkedIn under “Bobby Curtis MBA”.
